
How to Achieve Perfectly Pedicured Feet at Home
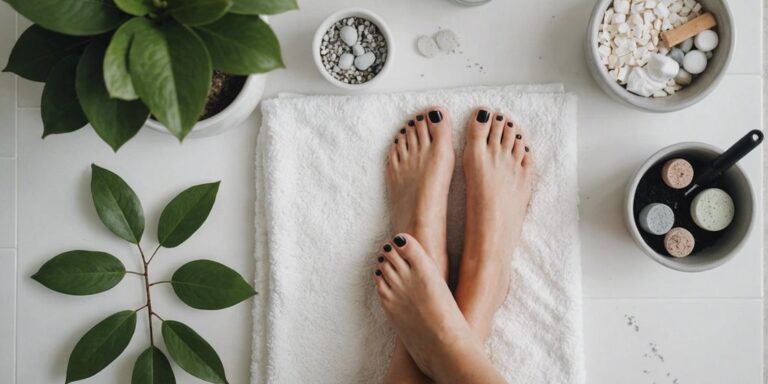
Are your feet in dire need of some TLC, but you’d rather opt for a cozy pedicure at home than a salon appointment? You’re in the right place! In the quest for impeccable beauty, we often focus on our facial features and hairstyles, forgetting a crucial aspect of our appearance – our feet. With the right tools and techniques, you can pamper your feet, save money, and say goodbye to those costly salon visits. This guide will walk you through everything you need to know to achieve perfectly pedicured feet from the comfort of your home.
Key Takeaways
- Gather all essential tools and materials before starting your pedicure to ensure a smooth process.
- Prepare your feet by soaking, exfoliating, and caring for your cuticles to create a clean canvas.
- Follow a step-by-step guide to trim, shape, buff, and polish your nails for a professional finish.
- Choose the right nail polish colors and formulas for a long-lasting and flawless look.
- Maintain your pedicure with daily foot care and regular touch-ups to keep your feet looking their best.
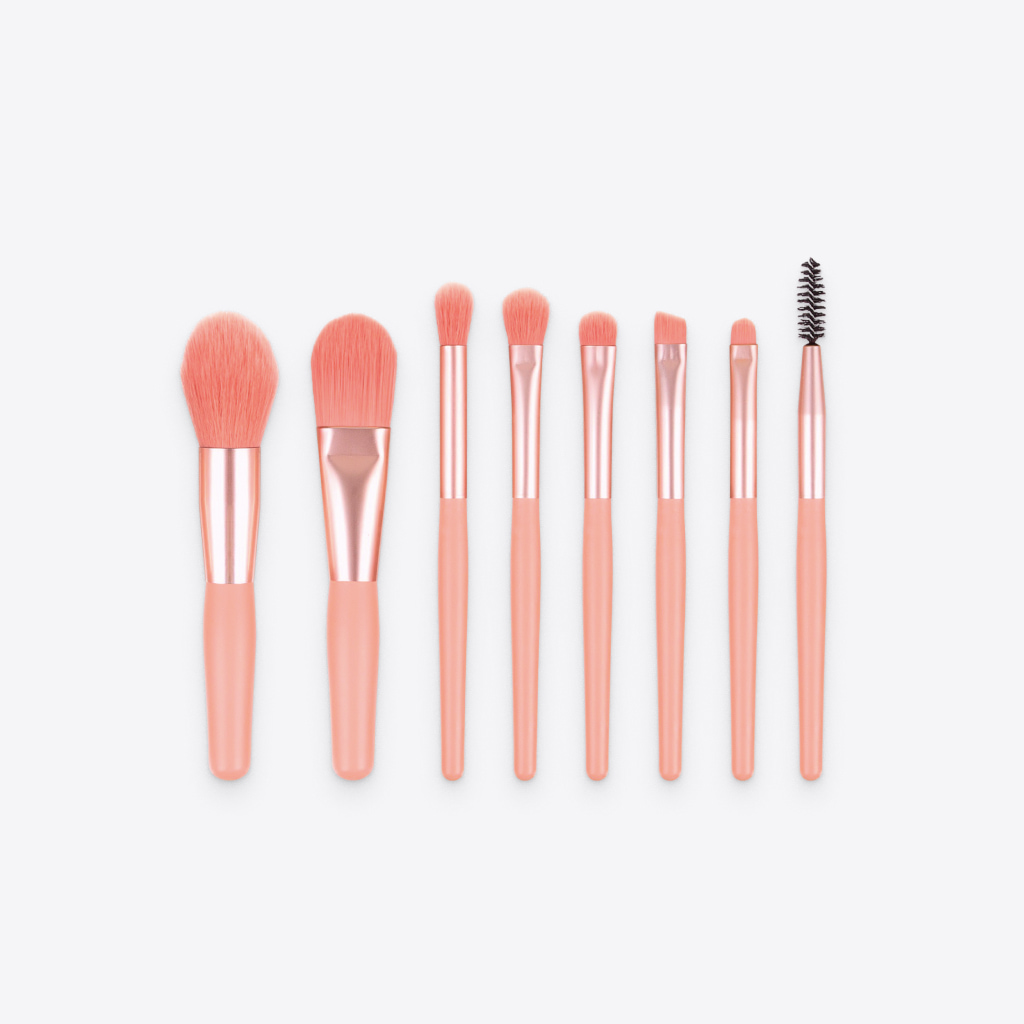
Essential Tools and Materials for a Home Pedicure
Before you set off on your at-home pedicure journey, make sure you have all the proper tools. As long as you have a handful of tools, it’s relatively easy to DIY a pedicure at home. You can decide how basic or fancy you want to get with your supplies, but in general, you’ll want to at least have the following:
Preparing Your Feet for a Pedicure
Soaking and Softening
Start by soaking your feet for at least 15 minutes in warm to hot water. This softens the nails, making them easier to manage. You can add Epsom salt or essential oils to the water for added relaxation and benefits.
Exfoliating Dead Skin
After soaking, return your feet to a warm water bath for 1 to 2 minutes. Armed with a pumice stone, pedicure brush, or callus remover, gently exfoliate the soles, sides, and heels of your feet to eliminate hard calluses and dead skin. For a thorough exfoliation, prepare a DIY foot scrub using salt, sugar, or coffee.
Cuticle Care
Push back or trim cuticles gently. Utilize a cuticle pusher, being mindful not to exert excessive pressure. Apply cuticle oil or balm to keep them moisturized and healthy.
Proper preparation is key to achieving a professional at-home pedicure. Take your time with each step to ensure the best results.
Step-by-Step Guide to a Perfect Home Pedicure
Achieving a perfect DIY pedicure at home is easier than you might think. With a few simple steps, a home pedicure kit, and a touch of creativity, you can prepare your nails for a pedicure that rivals any salon treatment. So, grab your favorite nail polish and let’s get started on the journey to beautiful, happy feet!
Trimming and Shaping Your Nails
Start by trimming your nails to your desired length using nail clippers. Be sure to cut straight across to avoid ingrown nails. Next, use a nail file to shape the edges. For a more natural look, file in one direction rather than back and forth.
Buffing and Smoothing
Buffing your nails helps to smooth out any ridges and gives them a healthy shine. Use a nail buffer to gently buff the surface of each nail. This step not only improves the appearance of your nails but also helps the nail polish adhere better.
Applying Base and Top Coats
Before applying your nail polish, start with a base coat to protect your nails and provide a smooth surface for the polish. Once the base coat is dry, apply your chosen nail polish in thin, even layers. Finish with a top coat to seal in the color and add extra shine. This will help your pedicure last longer and prevent chipping.
With these steps, you can treat yourself to a DIY pedicure that rivals any spa experience, leaving your feet feeling pampered and beautiful.
Choosing the Right Nail Polish
Popular Colors and Trends
When it comes to choosing a nail polish color, the options are endless. Your toenails grow at a much slower rate than fingernails, so finding a polish that lasts shouldn’t be an issue. Whether you try a playful bright color or keep it simple with white, your toes will thank you. For an extra touch of flair, consider adding nail art or decals to elevate your pedicure.
Long-Lasting Formulas
Start by applying a base coat to improve polish adhesion and prevent any potential staining. After the base coat has fully dried, put on your selected nail polish shade. Utilize toe separators to prevent smudging. To ensure the best consistency, roll the polish bottle in your hand before application. Apply a thin coat of polish to start. If you have shaky hands, you’re not alone.
Tips for a Flawless Finish
- Swipe your nail beds dry to remove any excess product or oil before you start painting.
- Apply a thin base coat using three strokes: one up the middle and one on each side.
- Once the base has set, you’re ready to move on to the color.
- The more coats of nail polish you have, the more saturated the color will be.
- Let the polish dry between coats to avoid a clumpy or streaky finish.
This action is more about what you want to see on your toes versus the healthy, now.
Maintaining Your Pedicure
Maintaining healthy and beautiful feet every day is essential to keep your pedicure looking fresh and fabulous. Aftercare is the key to extending the life of any pedicure. Here are some strategies for preserving the freshness of your feet:
Daily Foot Care Tips
- Hydrated skin around your toenails is critical to maintaining your professional pedicure. Use a nourishing foot cream daily to keep your skin soft and prevent dryness.
- Avoid excessive moisture: While it’s crucial to keep your feet hydrated, excessive moisture can lead to fungal infections. Make certain your feet are entirely dry before slipping into closed-toe shoes.
- Tend to cuticles: Keep your cuticles moisturized with an oil or cream. This will help with the health of your nails as well as extend the life of your paint job.
When to Touch Up Your Nails
- Touch-up as needed: If your polish starts to chip, don’t hesitate to do a quick touch-up. A little maintenance goes a long way.
- Reapply your top coat every few days to avoid chipping and maintain that glossy finish.
Dealing with Common Issues
- Plan for a full pedicure every 2-3 weeks, depending on how fast your nails grow and your polish wears.
- If you notice any signs of fungal infections or other issues, address them promptly to prevent further complications.
Having dedicated your time and effort to achieving that flawless pedicure, it’s crucial to preserve its beauty for as long as possible.
Benefits of At-Home Pedicures
Cost Savings
One of the most compelling benefits of at-home pedicures is the significant cost savings. Salon pedicures can be quite expensive, especially if you go regularly. By doing your pedicure at home, you can save a substantial amount of money over time. Plus, you can invest in quality tools and products that will last for multiple uses, further enhancing your savings.
Convenience and Comfort
At-home pedicures offer unparalleled convenience and comfort. You can pamper yourself whenever you have the time, without needing to schedule an appointment or travel to a salon. This flexibility allows you to fit self-care into your busy schedule easily. Additionally, you can create a relaxing environment tailored to your preferences, whether that means watching your favorite show or listening to soothing music.
Customizing Your Experience
When you do your pedicure at home, you have complete control over the process. You can choose the products that work best for your skin type and preferences, and you can take your time to ensure every step is done to your satisfaction. This level of customization is often not possible in a salon setting, where time and product options may be limited.
Embrace the art of DIY pedicures and relish the satisfaction of having stunning, happy feet without ever leaving your home. This is advantageous for both your well-being and your budget.
Conclusion
Achieving perfectly pedicured feet at home is not only possible but also incredibly rewarding. By following the steps outlined in this guide, you can transform your self-care routine into a delightful and cost-effective experience. With the right tools and techniques, you can pamper your feet, maintain their health, and enjoy the confidence that comes with beautifully cared-for feet. So, why wait? Start your DIY pedicure journey today and step into a world of pretty, happy feet!
Frequently Asked Questions
What is a home pedicure and why is it beneficial?
A home pedicure is a self-administered beauty treatment for the feet that can be done in the comfort of your own home. It is beneficial because it saves money, offers convenience, and allows you to customize the experience to your liking.
What tools do I need for a home pedicure?
Essential tools for a home pedicure include nail clippers, a nail file, a foot bath, a pumice stone or foot file, cuticle pusher, base coat, top coat, and nail polish. Optional extras for a spa experience include cuticle oil, foot scrub, and moisturizing foot mask.
How do I prepare my feet for a pedicure?
Start by soaking your feet in warm water mixed with Epsom salt and essential oils for about 10-15 minutes. This helps to soften the skin and nails. Follow by exfoliating dead skin with a foot scrub or pumice stone, and then gently push back the cuticles.
How can I make my pedicure last longer?
To make your pedicure last longer, apply a base coat before the nail polish and a top coat after. Avoid soaking your feet for long periods and moisturize daily. Touch up the top coat every few days to maintain shine and prevent chipping.
What are the latest nail polish trends?
Popular nail polish trends include pastel colors, metallic shades, and classic reds. Long-lasting formulas and gel polishes are also in demand. Experimenting with nail art and accent nails can add a unique touch to your pedicure.
How often should I do a home pedicure?
It’s recommended to do a home pedicure every 2-4 weeks, depending on your foot care needs and lifestyle. Regular maintenance, such as moisturizing and filing nails, can help keep your feet looking their best between full pedicure sessions.


Leave a comment